Planning Module - Tasks
Projects, Tasks, and Messages allow you to manage projects and tasks, and communicate while keeping all context in one place.
1. Overview of the Module:
The Planning module brings together project tracking, task management, and team communication in a single, unified workspace. Teams can create and monitor projects, manage tasks across multiple views, log time, set priorities, and collaborate directly on tasks — ensuring nothing gets lost and everyone stays aligned throughout the lifecycle of every project.
2. Key Features:
- Projects: Create and track projects, assign a project leader and team, and link them to customers.
- Tasks: Add and manage tasks related to projects, with full control over status, priority, and assignment.
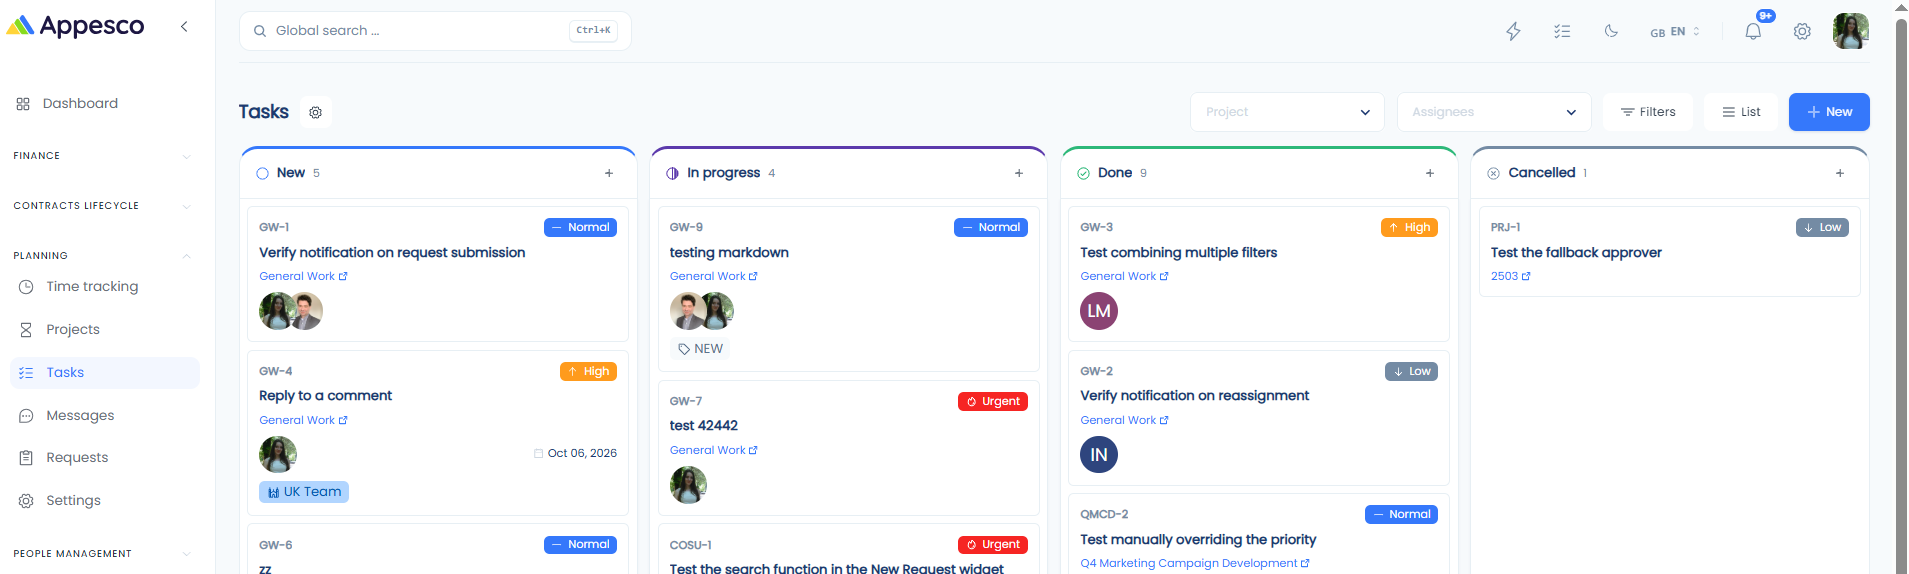
- Kanban Board View: Visualize tasks by status in a drag-and-drop board.
- List View: View all tasks in a structured, sortable list.
- Card View: Browse tasks as individual cards for a compact overview.
- Comments, Notes, Time Logging and Reminders: Collaborate and keep records directly on each task.
- Task Prioritization and Assignment: Set priority levels, assign team members, and track changes through a full audit trail.
- Messages Panel: Manage all task-related communication in one central place, without losing context.
Instructions:
3. Adding a Project:
- Navigate to Planning → Projects and click New.
- Input all mandatory and optional data as desired:
- Project Name: Title of the project.
- Description: Brief summary of the project scope or purpose.
- Customer: Link the project to a customer in the system.
- Project Leader: Assign the person responsible for the project.
- Project Team: Add team members who will work on or have visibility over the project.
- Click Create to save the project.
4. Adding a Task:
- Navigate to Planning → Tasks and click New.
- Add the task name, project, and all optional fields as desired:
- Task Name: Title of the task.
- Project: Link the task to an existing project.
- Assignees: Add one or more team members responsible for the task.
- Priority: Set the task priority (e.g. Low, Normal, High, Urgent).
- Status: Select the current status of the task.
5. Changing Status, Priority, and Other Task Details:
- Click on a task from the list or Kanban board to open it.
- Use the small Edit button next to each field to update it individually.
- Some fields can also be edited by clicking the Edit button at the top of the task.
6. Adding Comments, Notes, Logging Time, and Setting Reminders:
- Click on a task from the list or Kanban board and select the desired action from the Discussion panel.
- Select the action you need:
- Comment: Add a message, tag colleagues, or reference other tasks in Appesco.
- Note: Add an internal note visible only to you.
- Log Time: Record time spent, linked to the project or respective task.
- Reminder: Set a personal reminder for yourself related to a specific task.
7. Using the Messages Panel:
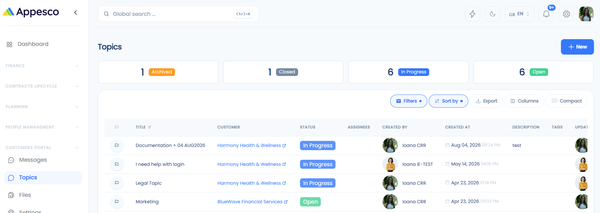
- Navigate to Planning → Messages for an easy overview of all messages on tasks.
- Use the available filters to focus on what matters:
- All Tasks: View messages across every task.
- Your Tasks: Show only messages from tasks assigned to you.
- Unread: Filter to messages you have not yet read.
- Add comments and open tasks directly from this section.