Contracts Lifecycle Module
Contracts Lifecycle Module
The Contracts Lifecycle Module (CLM) streamlines contract management from creation to completion. It provides tools for managing agreements, approvals, secure signing, and organization, ensuring efficiency and compliance throughout the contract lifecycle.
1. Overview of the Module:
The Contracts Lifecycle Module (CLM) streamlines contract management from creation to completion. It provides tools for managing agreements, approvals, secure signing, and organization, ensuring efficiency and compliance throughout the contract lifecycle.
2. Key Features:
- Agreement Management: Create, approve, and sign contracts with ease.
- Approval Workflow Automation: Multi-step workflows ensure all stakeholders review and approve agreements.
- E-signature Integration: Skribble integration for secure and efficient digital signatures.
- Document Organization: Use folders, tags, and role-based access control to keep contracts organized.
- Notifications and Alerts: Automated reminders for contract milestones and expiration dates.
- Analytics and Reporting: Gain actionable insights to improve contract processes.
- Audit Logging: Track all activity for transparency and accountability.
3. Instructions:
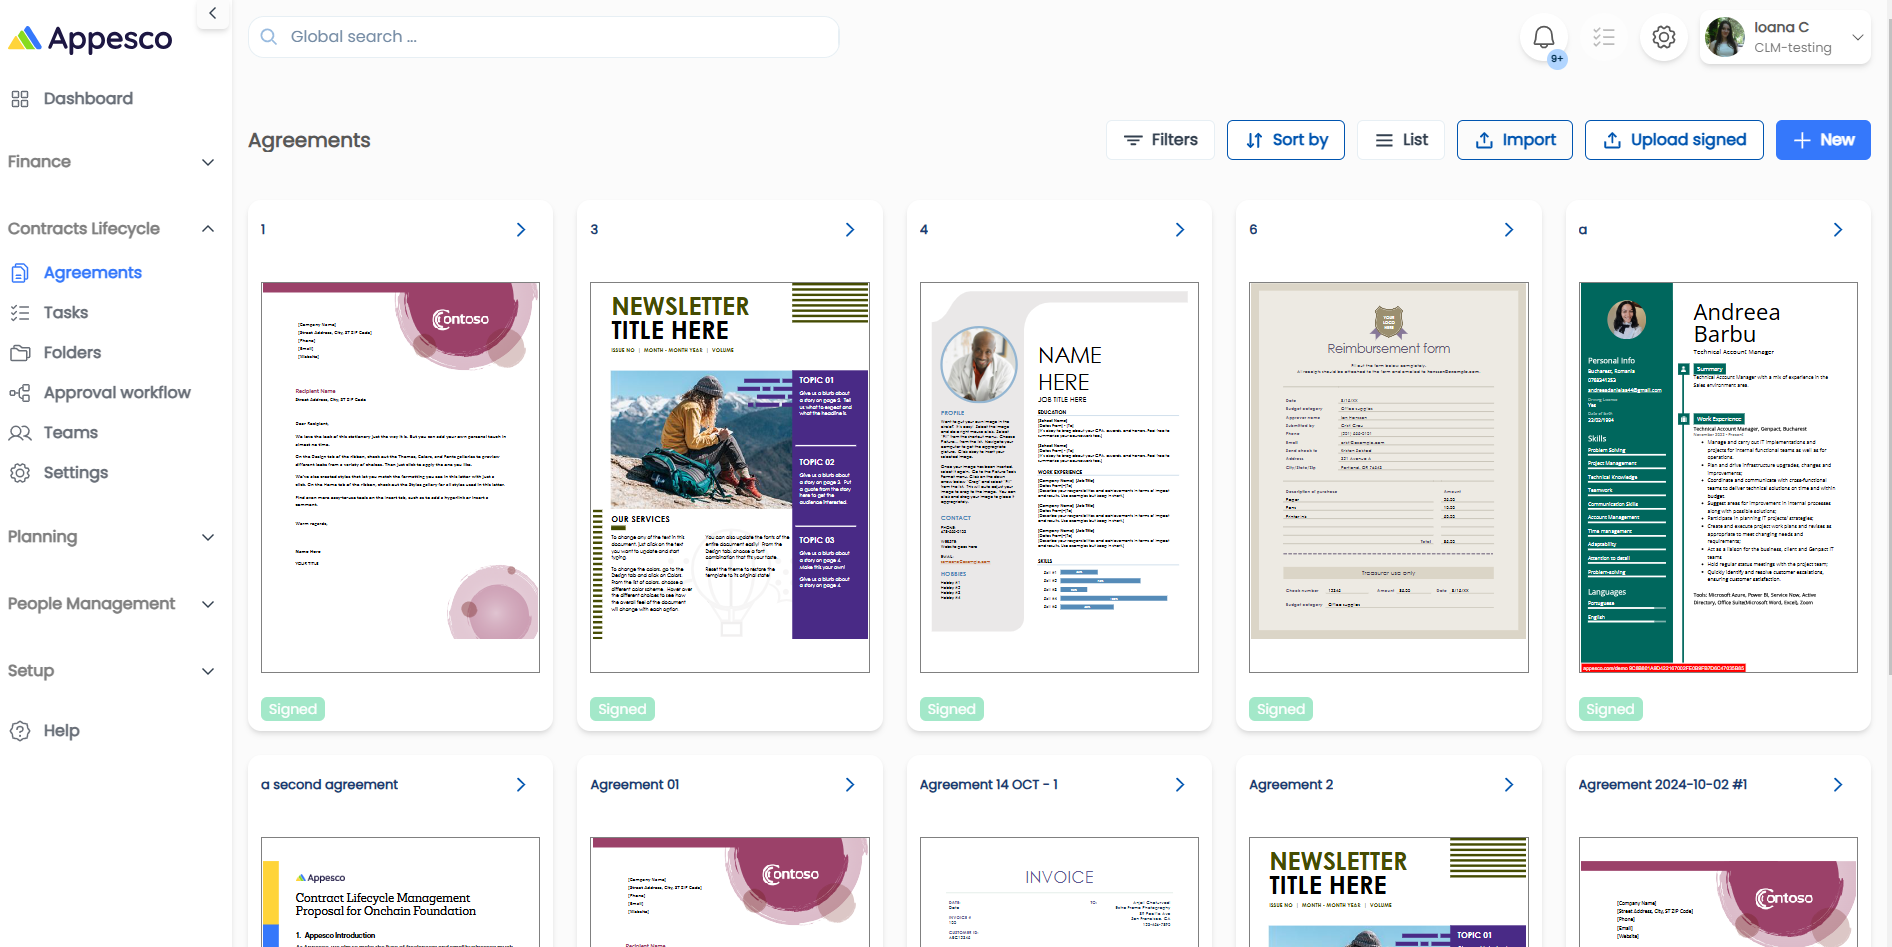
1. Adding an Agreement
- Navigate to Agreements and click New.
- Fill in the following details:
- Document(s): Upload relevant files.
- Details: Add title, description, and tags.
- Company and Party: Select the relevant stakeholders.
- Dates: Specify effective date, signing date, termination date, and agreement term.
- Folder: Choose an appropriate folder for storage.
- Approval Workflow: Assign a workflow if approval is required.
- Clauses Summary: Summarize key clauses.
- Attachments: Add any additional supporting documents.
2. Sending an Agreement for Approval
- Ensure the agreement has a folder and an assigned approval workflow.
- Click Request Approval to send it through the approval process.
3. Sending an Agreement for Signature
- Once the approval is completed, click Request Signatures.
- Configure the signature flow:
- External Signatures: Use for wet signatures if required.
- Digital Signatures: Use Skribble integration for secure electronic signing.
4. Creating a Folder
- Go to Folders and click New Folder.
- Add the following:
- Title and Description: Name and describe the folder.
- Parent Folder: Assign a parent folder if applicable.
- Shared With: Specify who can access the folder.
5. Creating an Approval Workflow
- Navigate to Approval Workflows and click New.
- Fill in:
- Title and Description: Name and purpose of the workflow.
- Steps: Add as many steps as required, including:
- Title and Description
- Type (e.g., individual or team approval)
- Approvers
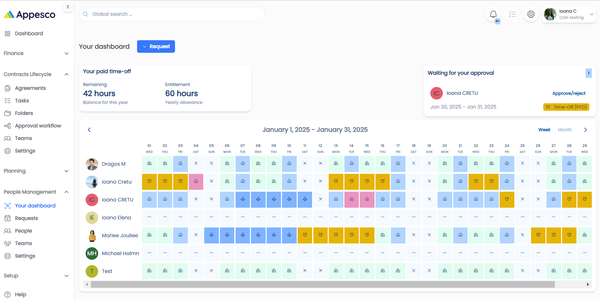
6. Adding Teams
- Navigate to Teams and click New.
- Input the following:
- Title and Description: Team name and purpose.
- Members: Add team members.
7. Configuring Agreement Expiration Reminders
- Go to Settings and set:
- Number of Days: Specify how many days before expiration reminders are sent.
- Message: Add a custom email message to be sent with the reminder.
8. Configuring Skribble Integration
- Navigate to Settings.
- Add the following:
- Skribble Username
- Skribble API Key (This key is generated by Skribble and displayed only once when creating a new API key on Skribble.com).
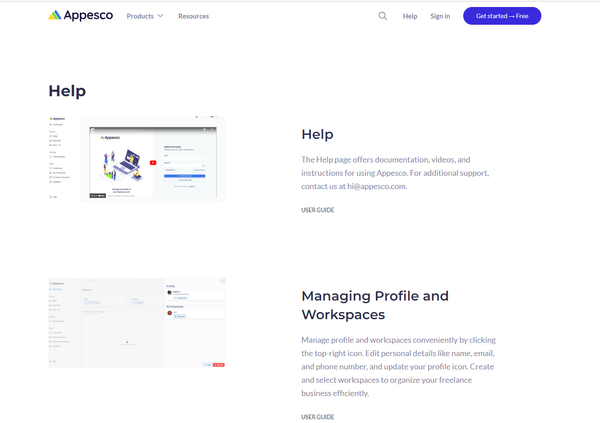
4. Additional Resources:
Video Tutorials:
Click below for full video guides: